
5 Steps To Curl Your Lashes Correctly
At UKLASH, we’re experts in enhancing your super natural beauty. We create products that aim to promote growth, nourish, and bring the best out of your lashes, brows and hair.
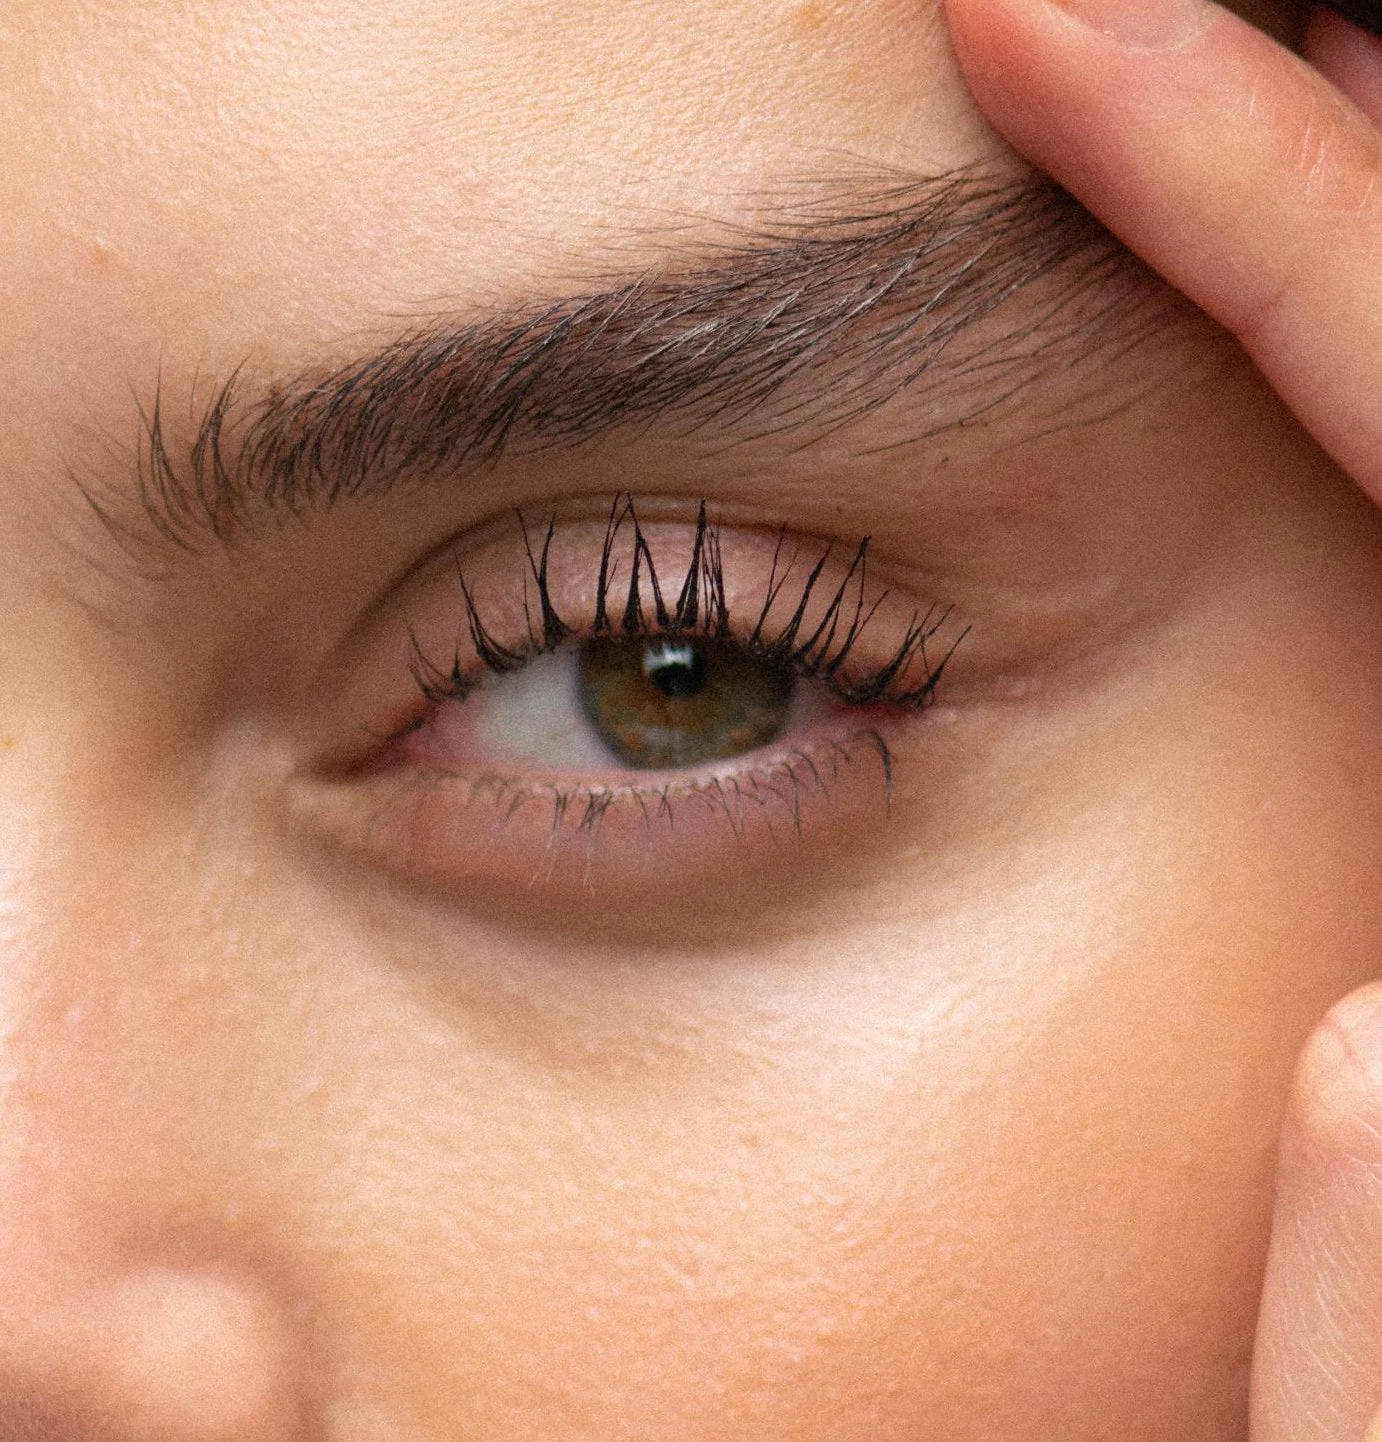
The key to enhancing your natural lashes is in learning how to lift and curl them. Although you may have been led to believe that eyelash curlers cause damage to lashes, we’re here to prove that theory wrong. As long as you use your Eyelash Curler correctly, you can make the most of your natural lashes, whilst keeping them nourished and strong.
Below we’ve laid out the perfect guide on how to use an Eyelash Curler, working it into your daily makeup routine. In five simple steps, you can highlight the longer and fuller lashes that you’ve grown through our #1 rated Eyelash Serum, using our range of expert tools and exceptional mascaras to provide an all-day lift and hold, resulting in the ultimate lash look.

How To Use An Eyelash Curler In 5 Steps
1. Cleanse your lashes
The first step in achieving a longer and more defined lash look is to begin with fresh and clean lashes. The best way to ensure they are bare and without residue or make-up is to use our award-winning Lash & Brow Wash. Simply press the pump mechanism to soak a single cotton wool pad. With a closed eye, gently press the pad at the root of the lashes and hold it in place for around 10-15 seconds before wiping downwards and cleansing the lashes. Repeat for both eyes.
2. Carefully warm your curlers
The best way to ensure your lashes achieve a lift and hold that lasts all day is by gently heating your curlers before application. The safest way to do this is by blowing hot air onto the Eyelash Curler and gripping it in your hand for around 20 seconds. Another way to heat your curlers is by applying hot air to the tool using a hairdryer, for around 10 seconds. But be careful - as the Eyelash Curler is typically made of metal it can heat up quickly and using a hot curler on your lashes is when damage will occur. We want to make sure the Eyelash Curler is warm, not hot, when curling our lashes. Test the tool by holding it to your wrist to feel the temperature before moving forward with curling.
3. Get in position
Place your forefinger and thumb in the Eyelash Curler’s handles to widen the clamp. With your eye open, place your upper lash line on top of the silicone pad and get as close to the root of your lashes as possible without touching the skin - if you feel pain when pressing your lashes, you’ve positioned the curler incorrectly.
4. Gently press lashes
Using light pulses, we recommend pressing with the curler around four to eight times at the root of your lash, working slowly to avoid any unnecessary damage. Then, moving up the lashes, press gently at the tip around four to eight times again. This will help to achieve a well-rounded curl, instead of a sharp crimp that may occur if you press too vigorously and too many times at the root. Repeat for both eyes.
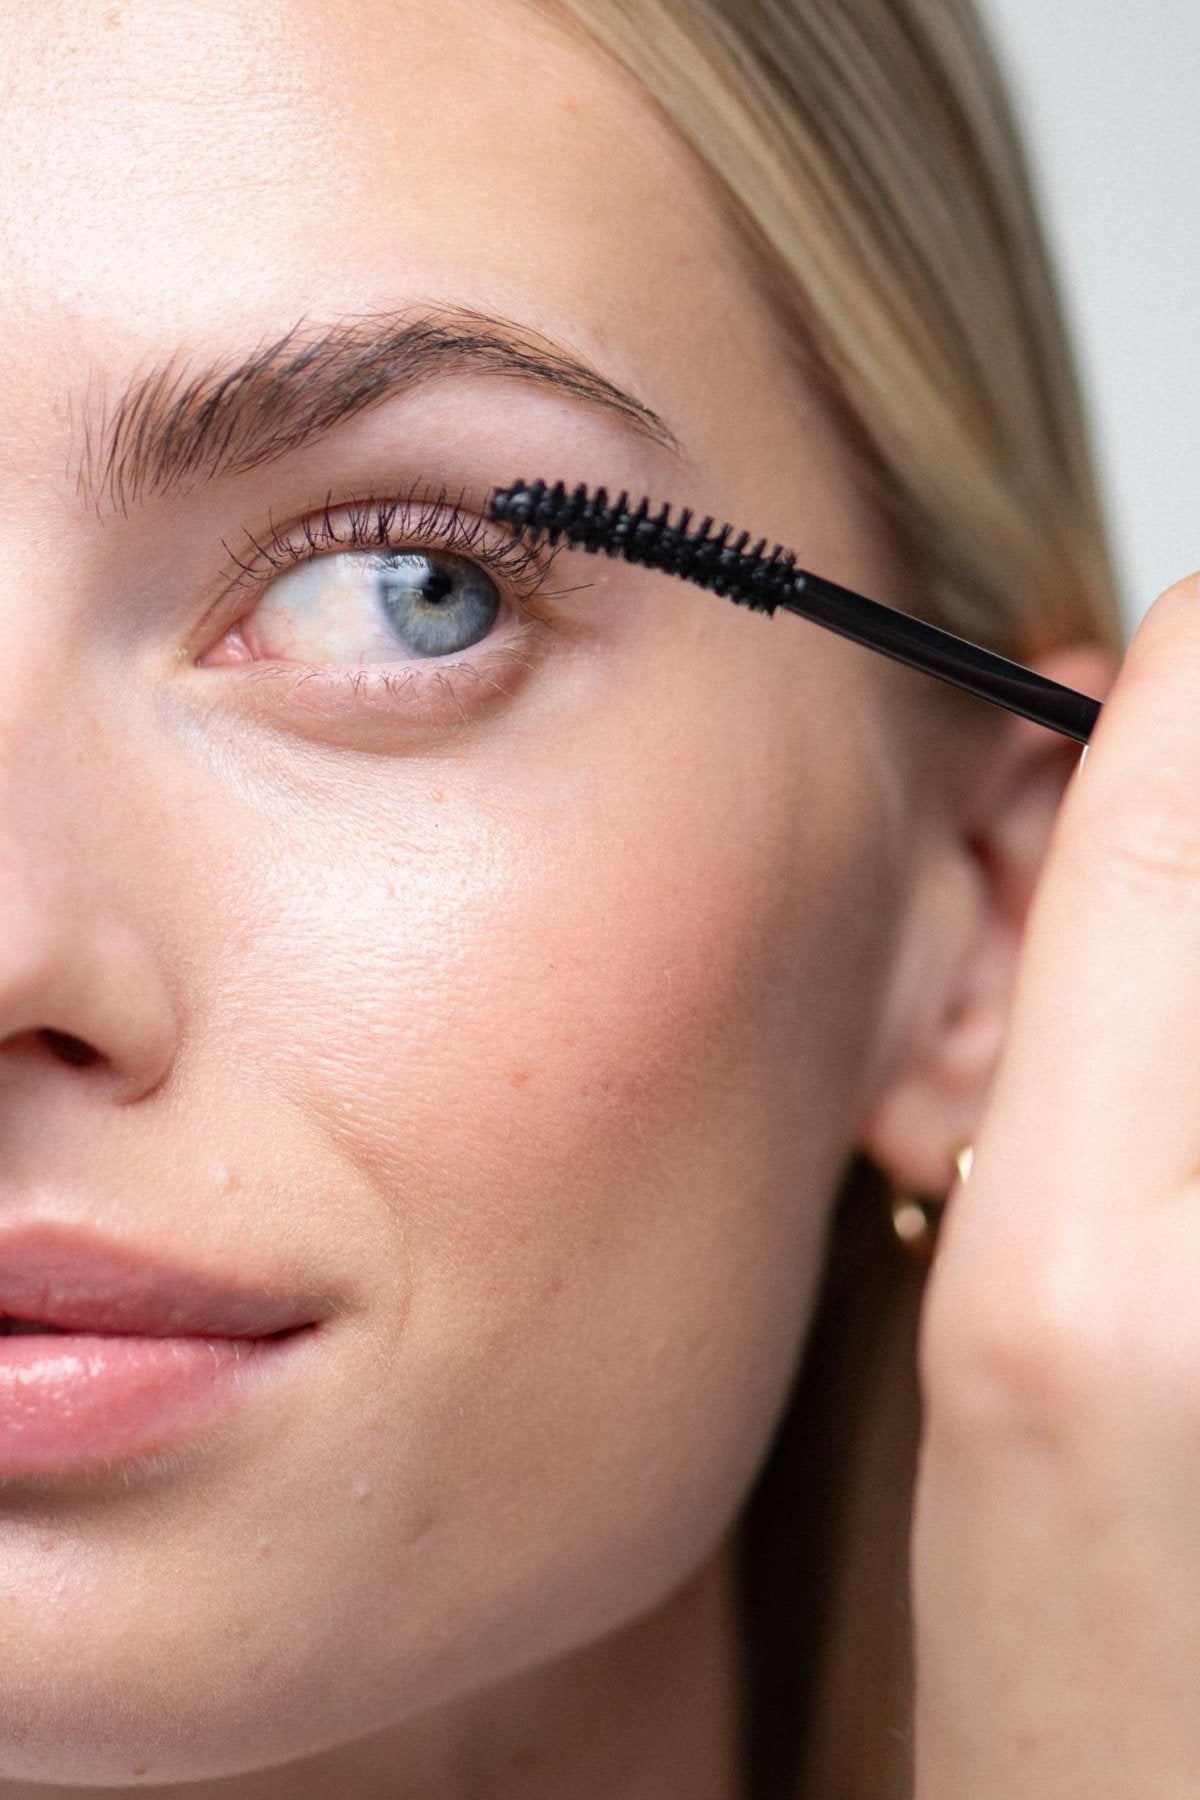
5. Follow up with mascara
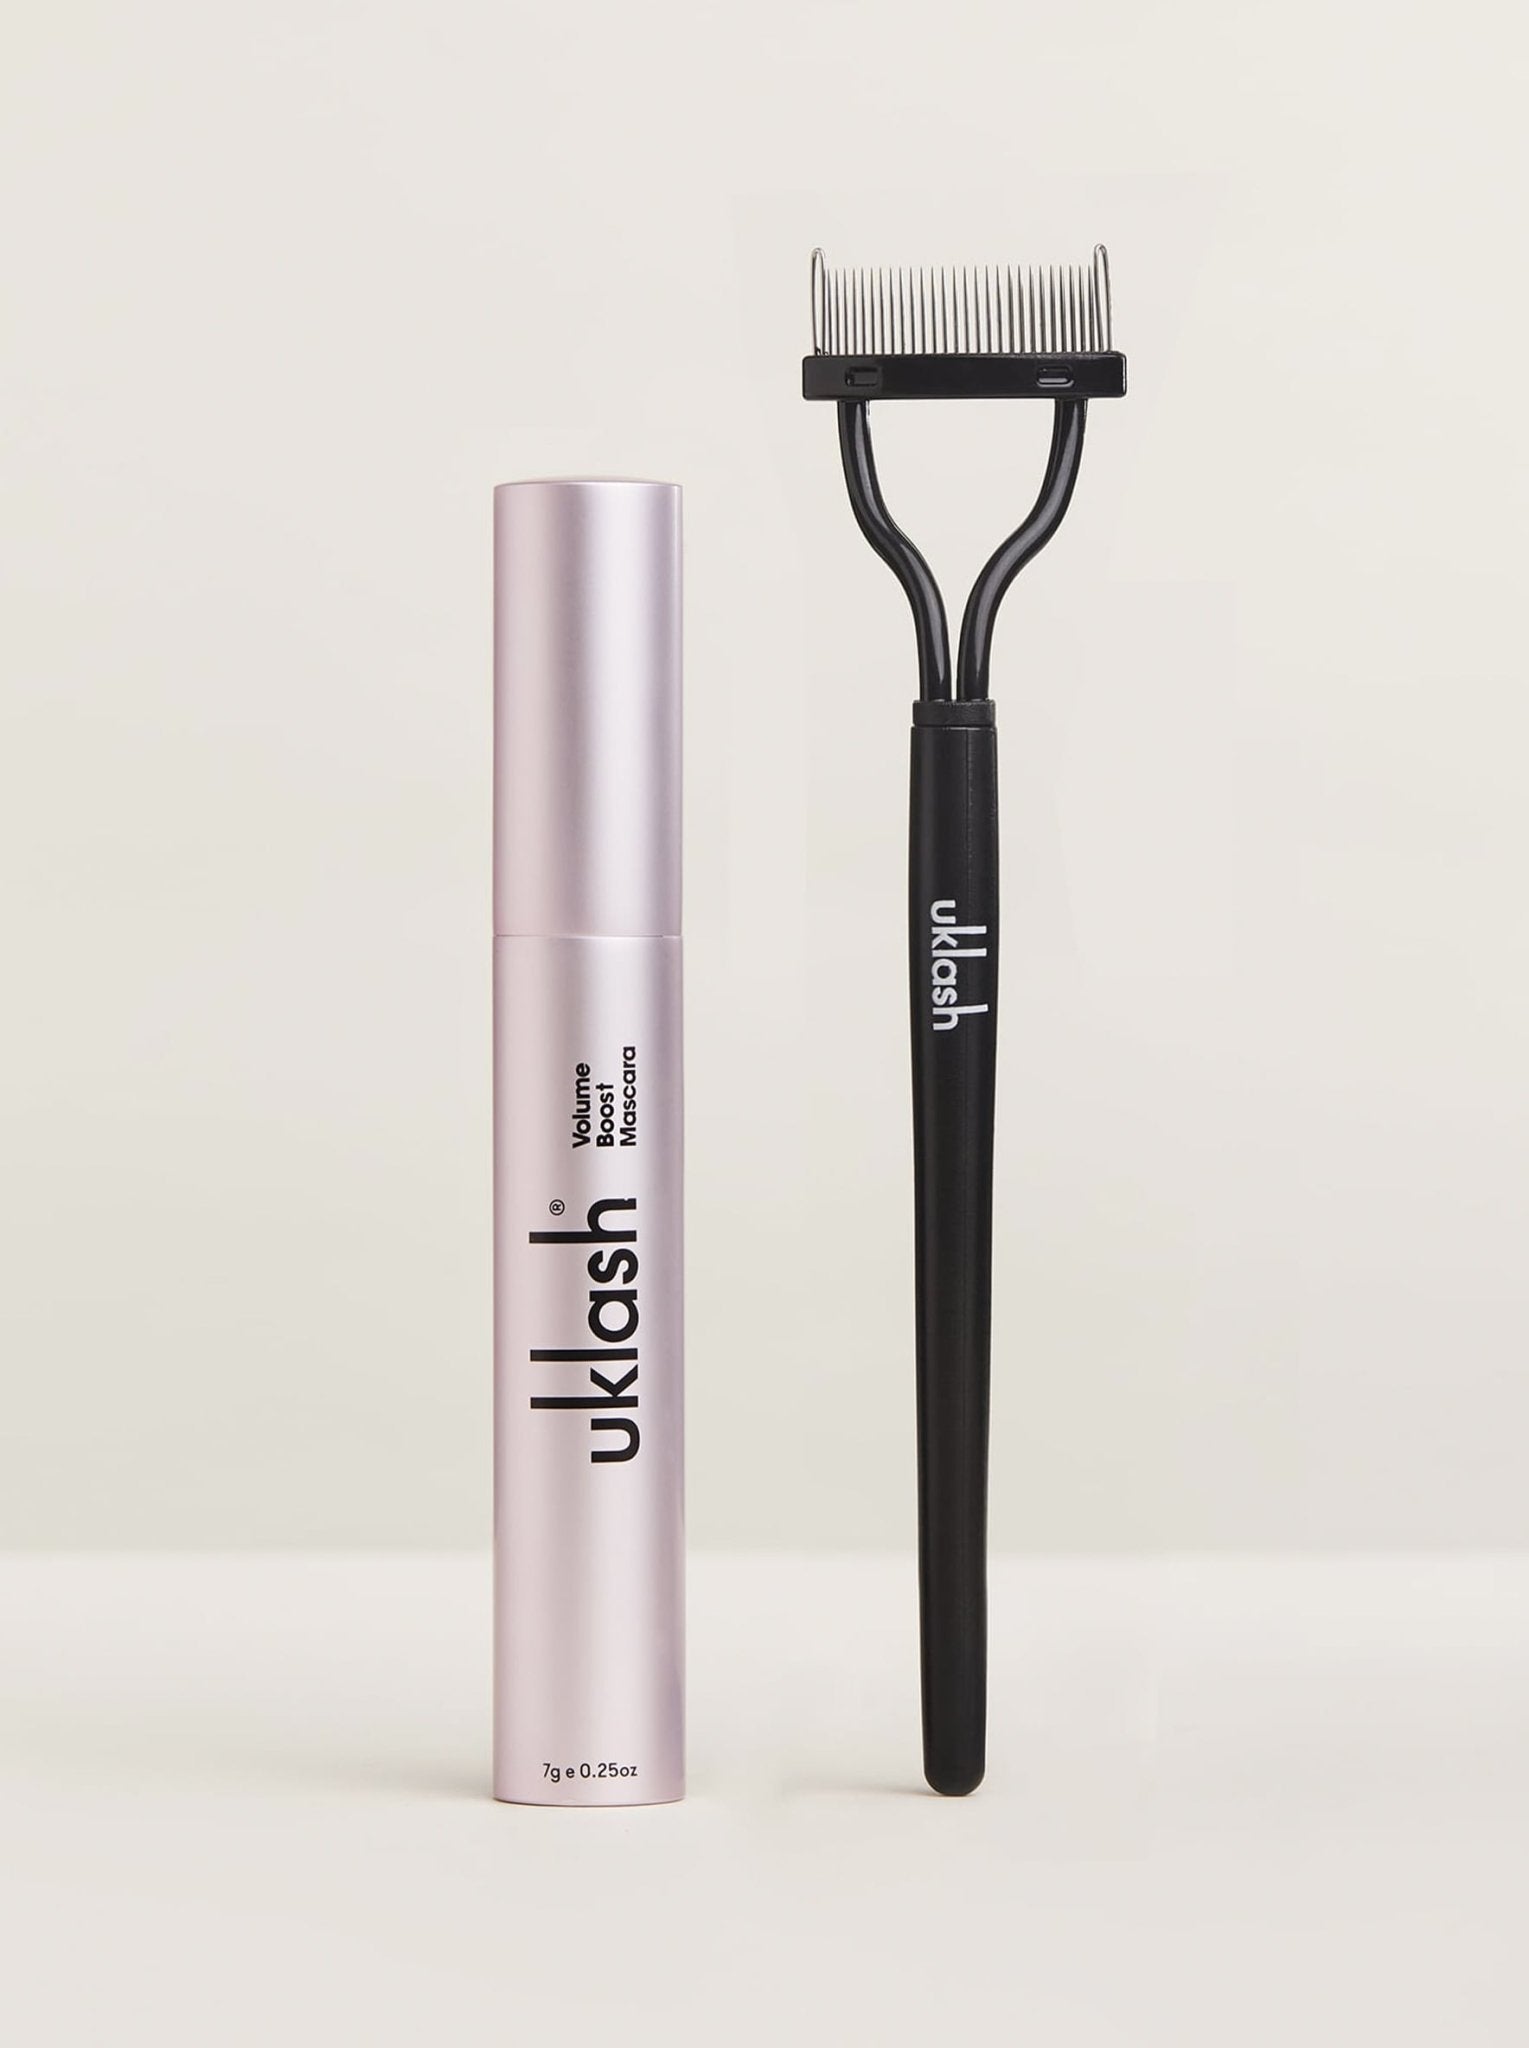
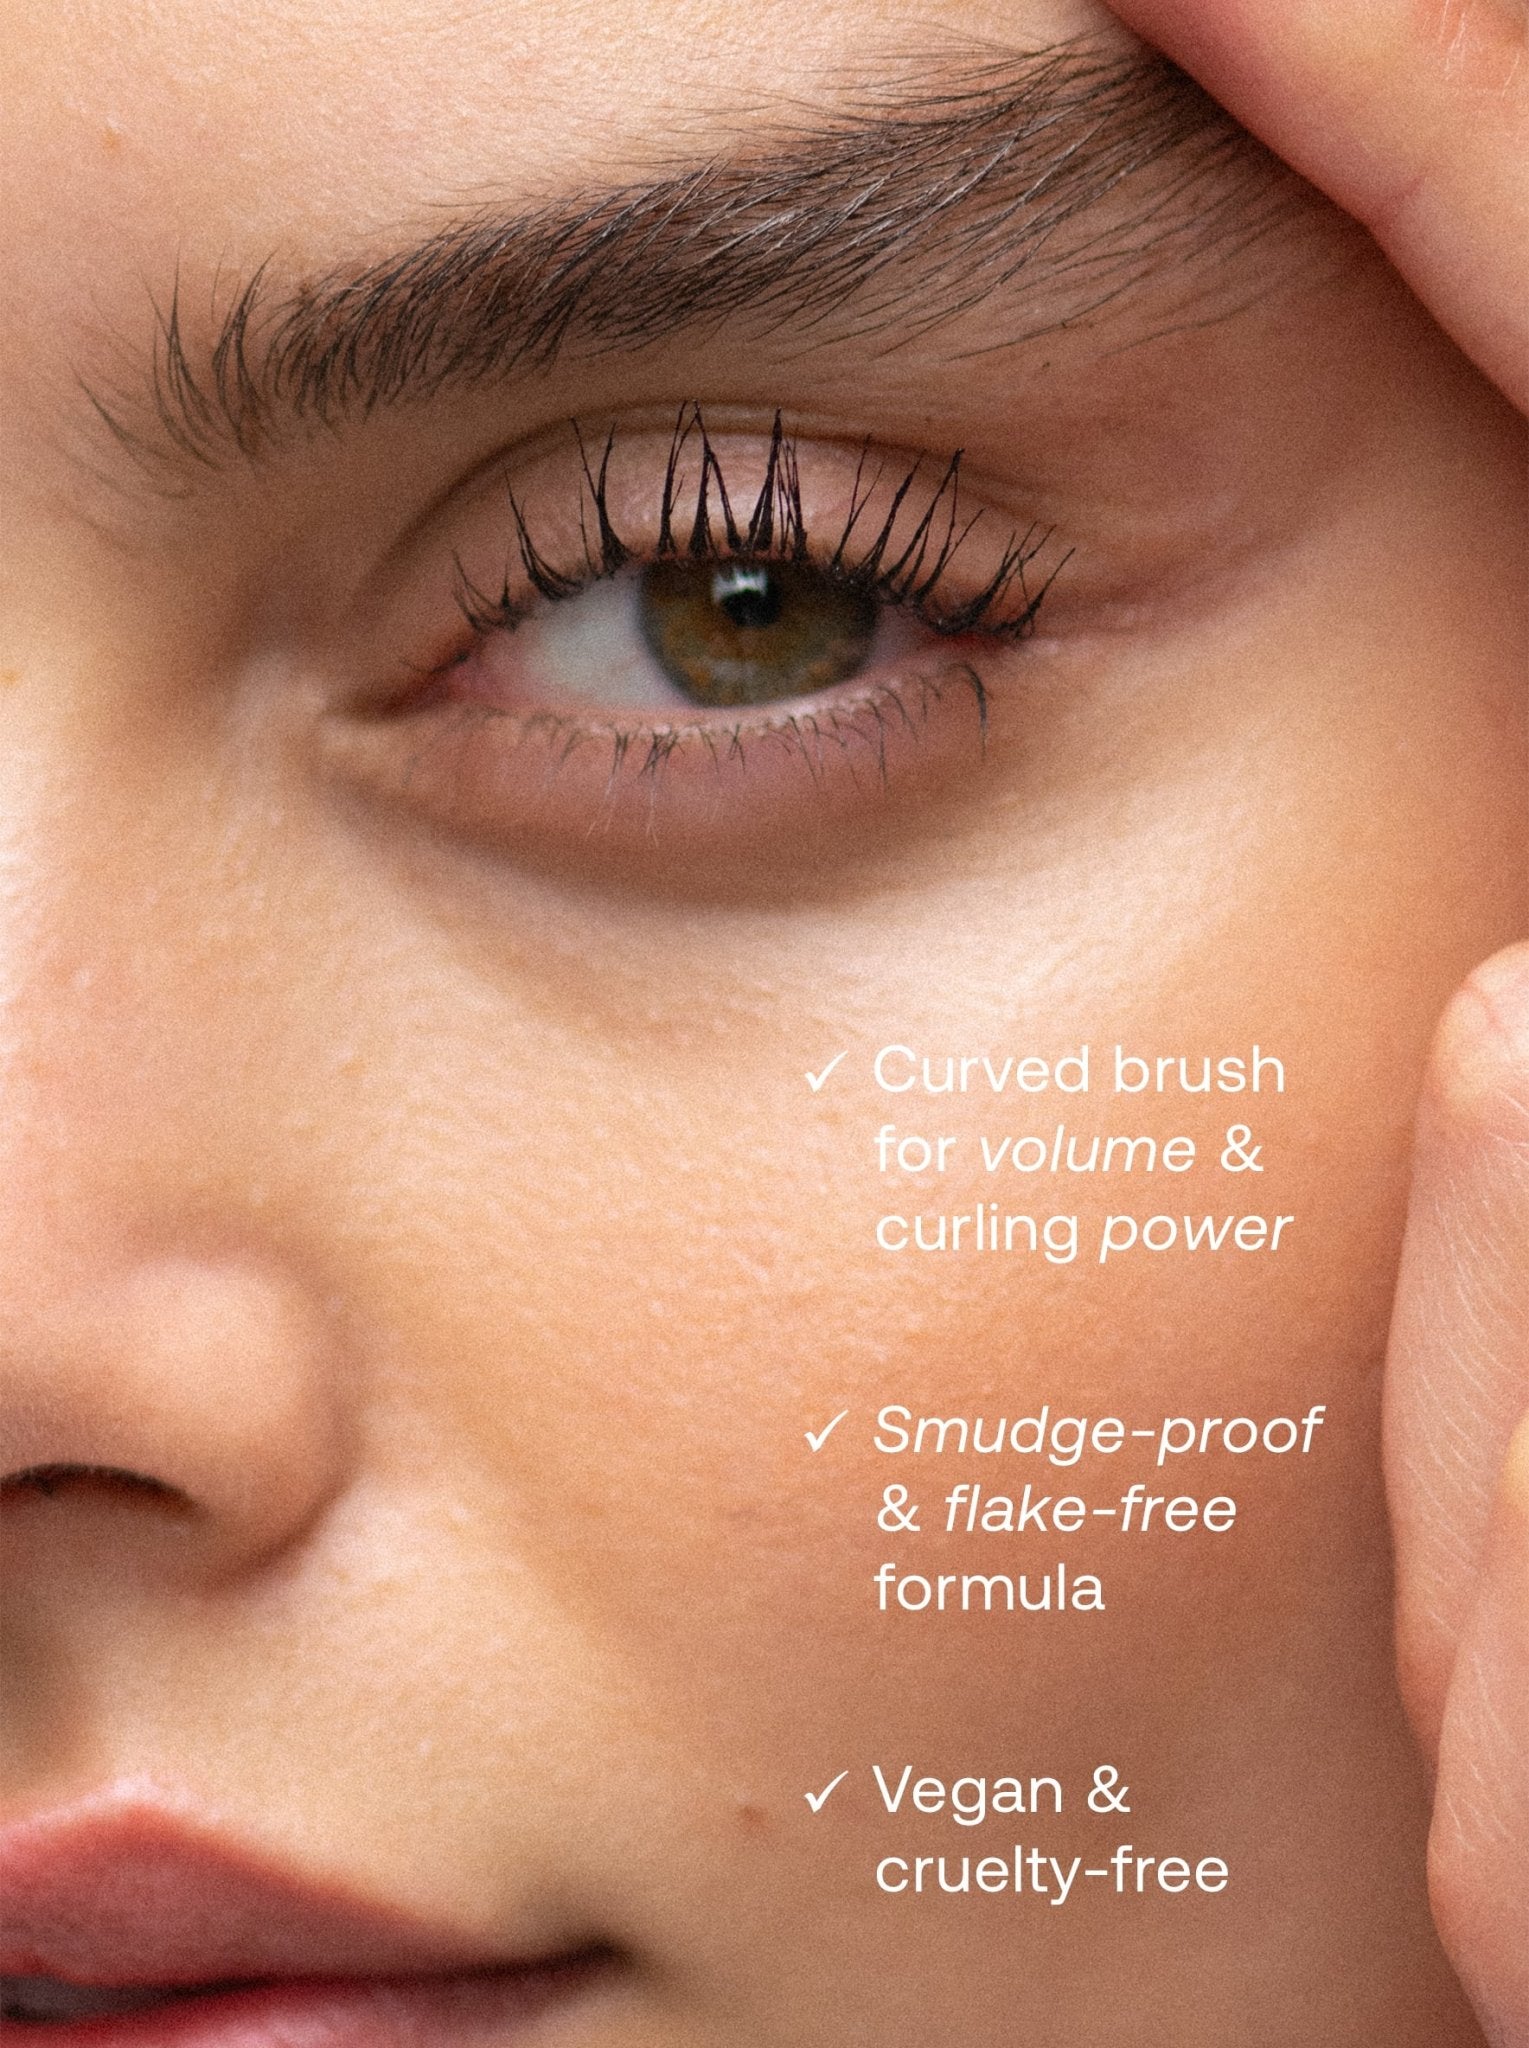
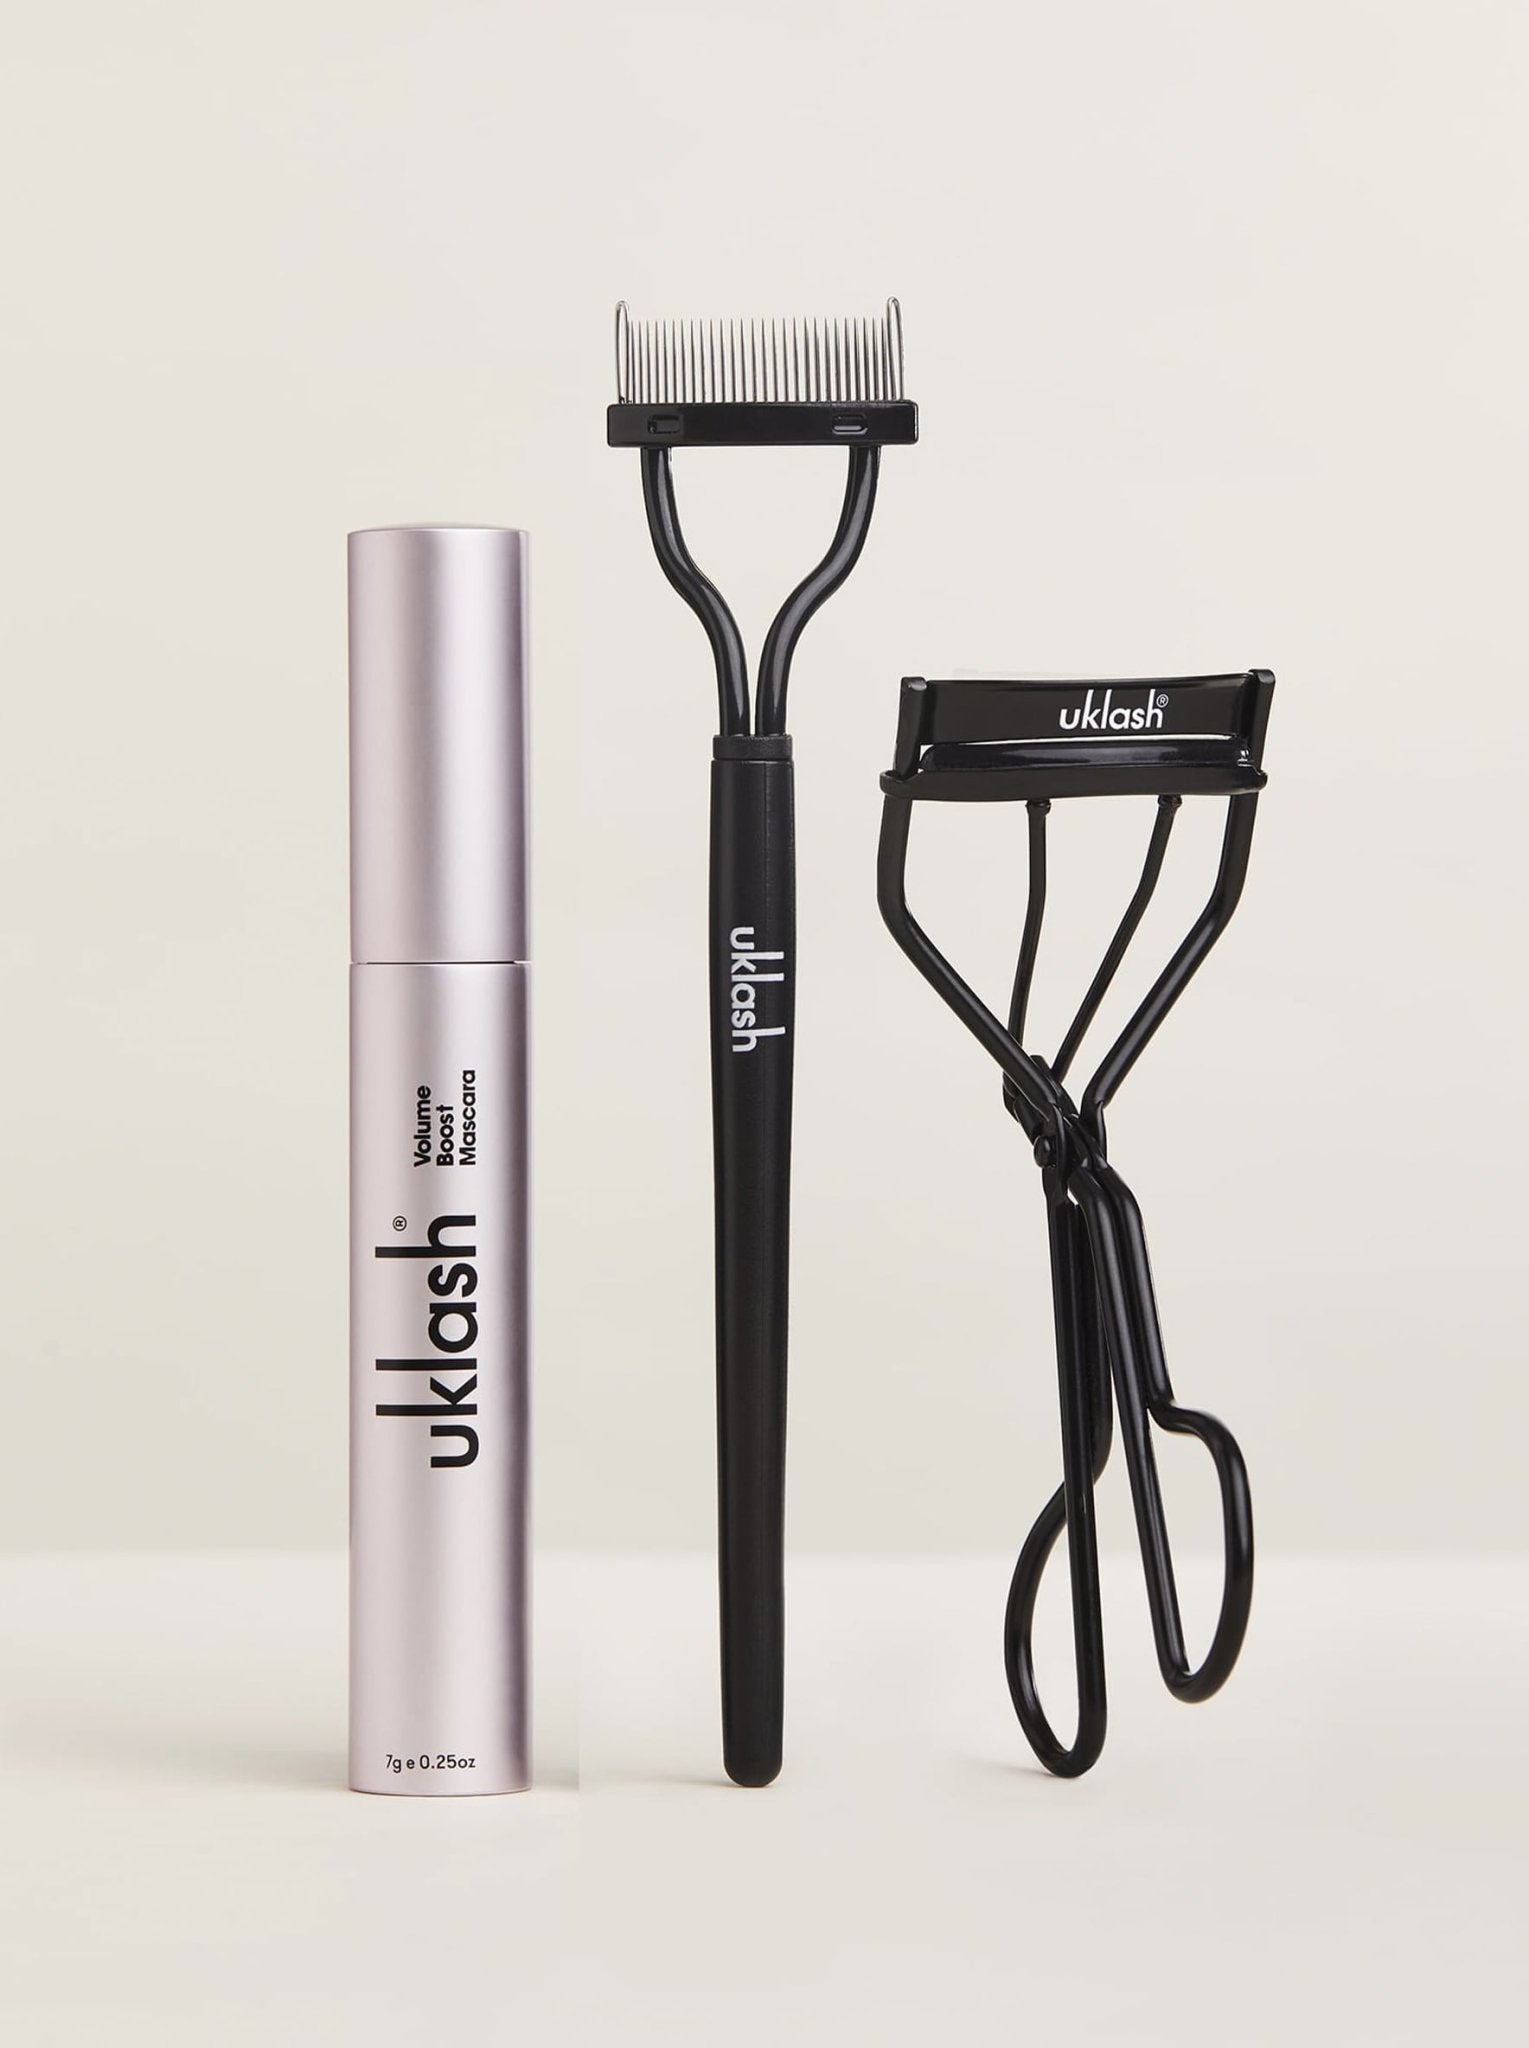
After successfully curling your lashes, it’s time to complete your lash look! To give your lashes the best hold, follow up with either our Lengthening Mascara or Volume Boost Mascara, depending on your desired look. Our Lengthening Mascara is applied with a silicone wand for a sleek application and maximum definition and is powered by natural Carnauba and Candelilla waxes for optimum curl and hold. Our Volume Boost Mascara offers an ultra-black pigmented formula that contains Vitamins E and B5 (Panthenol) and Keratin to nourish and strengthen the lashes and is accompanied by a wide curved brush, which works with the natural curve of your lash line to ensure maximum coverage and volume. For added definition and drama, why not finish your look with our Lash Separator? Its innovative c-curve comb is designed to remove any mascara clumps and define each lash for the ultimate lash look.

Remember…
Always curl your lashes before using mascaraIf you’re wondering, do you curl eyelashes before or after mascara? - The answer is always before. As well as making your Eyelash Curler dirty, curling your lashes after mascara can cause damage to your lashes. When you apply mascara to your lashes, they are initially wet and sticky and by using your curler at that moment, you may cause the curler to stick to your lashes and possibly pull them out. Also, by following up with a good quality mascara, such as our Lengthening or Volume Boost Mascara, you are helping to hold the lashes in place, creating the ultimate volumising and definitive lash look.
It is always important to hold the handles around your cheek area and curl your eyelashes upwards. Our Eyelash Curler is specially designed to sit within the natural curl of your lashes and is built with an innovative c-curve construction that’s hinged at the centre, providing regulated pressure when shaping the lashes, helping to create the optimum lash lift and hold.
In the same way that it is important to work with clean lashes when curling and applying a new make-up look, it is important that the tools you use are also clean and fresh. Use a cotton wool pad and our Lash & Brow Wash to wipe down your curlers before application.
Over time, it is expected that the silicone pads on your Eyelash Curler will wear out - you will notice as your curler will become less effective. At UKLASH we hate waste, and have designed our Eyelash Curler so it is made to last. We recommend replacing the pad every six months (we even supply an extra one upon purchase to keep you going), to make sure you are getting the most effective lift and hold for your lashes.
Don’t damage your lashes with too much force
There are two ways to prevent damage when curling your eyelashes; the first is by curling your lashes prior to applying mascara, and the second is by being gentle with your curler. Swift impact and using excessive force with your Eyelash Curler may cause extra fallout or may result in your eyelashes becoming brittle and breaking, so when curling lashes, it’s important to remember - slow and steady is always better.
More than anything, we want you to take away from this article that curling your eyelashes doesn’t have to be damaging. By following the correct steps and using high-quality tools and mascaras, such as those we offer at UKLASH, like our Eyelash Curler, Lash Separator and Lengthening or Volume Boost Mascara, you can easily achieve your longest and most dramatic lash look yet.

 1 Step To Longer, Stronger & Healthier Hair: UKHAIR Hair Growth SerumYou spoke, we listened. Our Hair Growth Serum is back and better than ever after being reformulated, rebranded and repackaged - ramping up incredible results. Your browser does not...
 What Happens Next? - How To Keep Healthy Lash Growth GoingAt UKLASH, enhancing super natural beauty is a part of our DNA. To do this, we design products that help you to achieve longer, stronger and healthier eyelashes. We understand what...
 5 Steps To Curl Your Lashes CorrectlyAt UKLASH, we’re experts in enhancing your super natural beauty. We create products that aim to promote growth, nourish, and bring the best out of your lashes, brows and hair.The...
 Can Stress Cause Hair Loss?It is normal and expected to experience hair loss as a part of the continuous hair growth cycle, but if you notice more loss than usual, it could be that...
 Achieve The Soft Girl Spring Makeup Look In 5 StepsThe internet, and more specifically social media, is constantly introducing new makeup trends. From bleached brows to tantouring, there is always a new look for us to try out.As of...
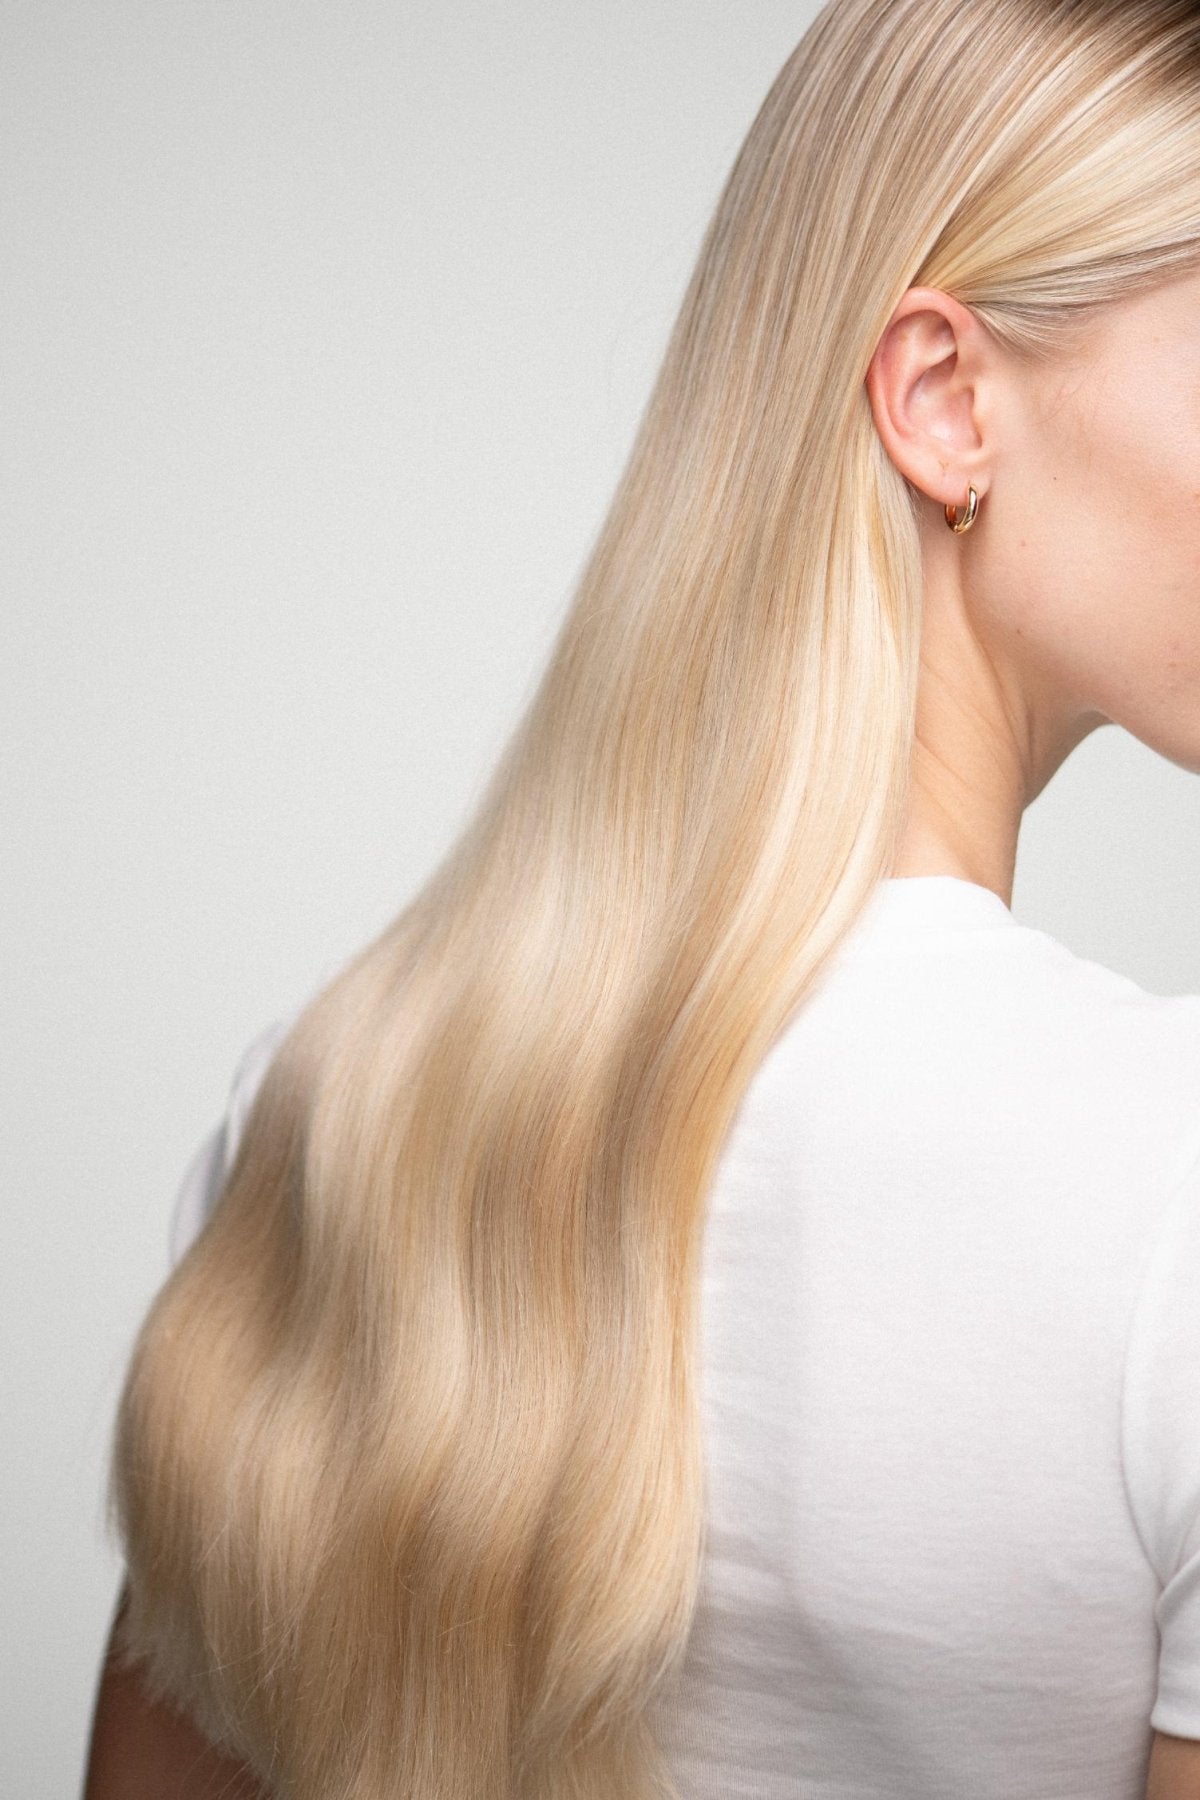 10 Tips On How To Stimulate Hair GrowthHair has the power to transform your overall appearance and how you feel about yourself. At UKLASH we understand the impact hair can have on self-confidence which is why we’re...
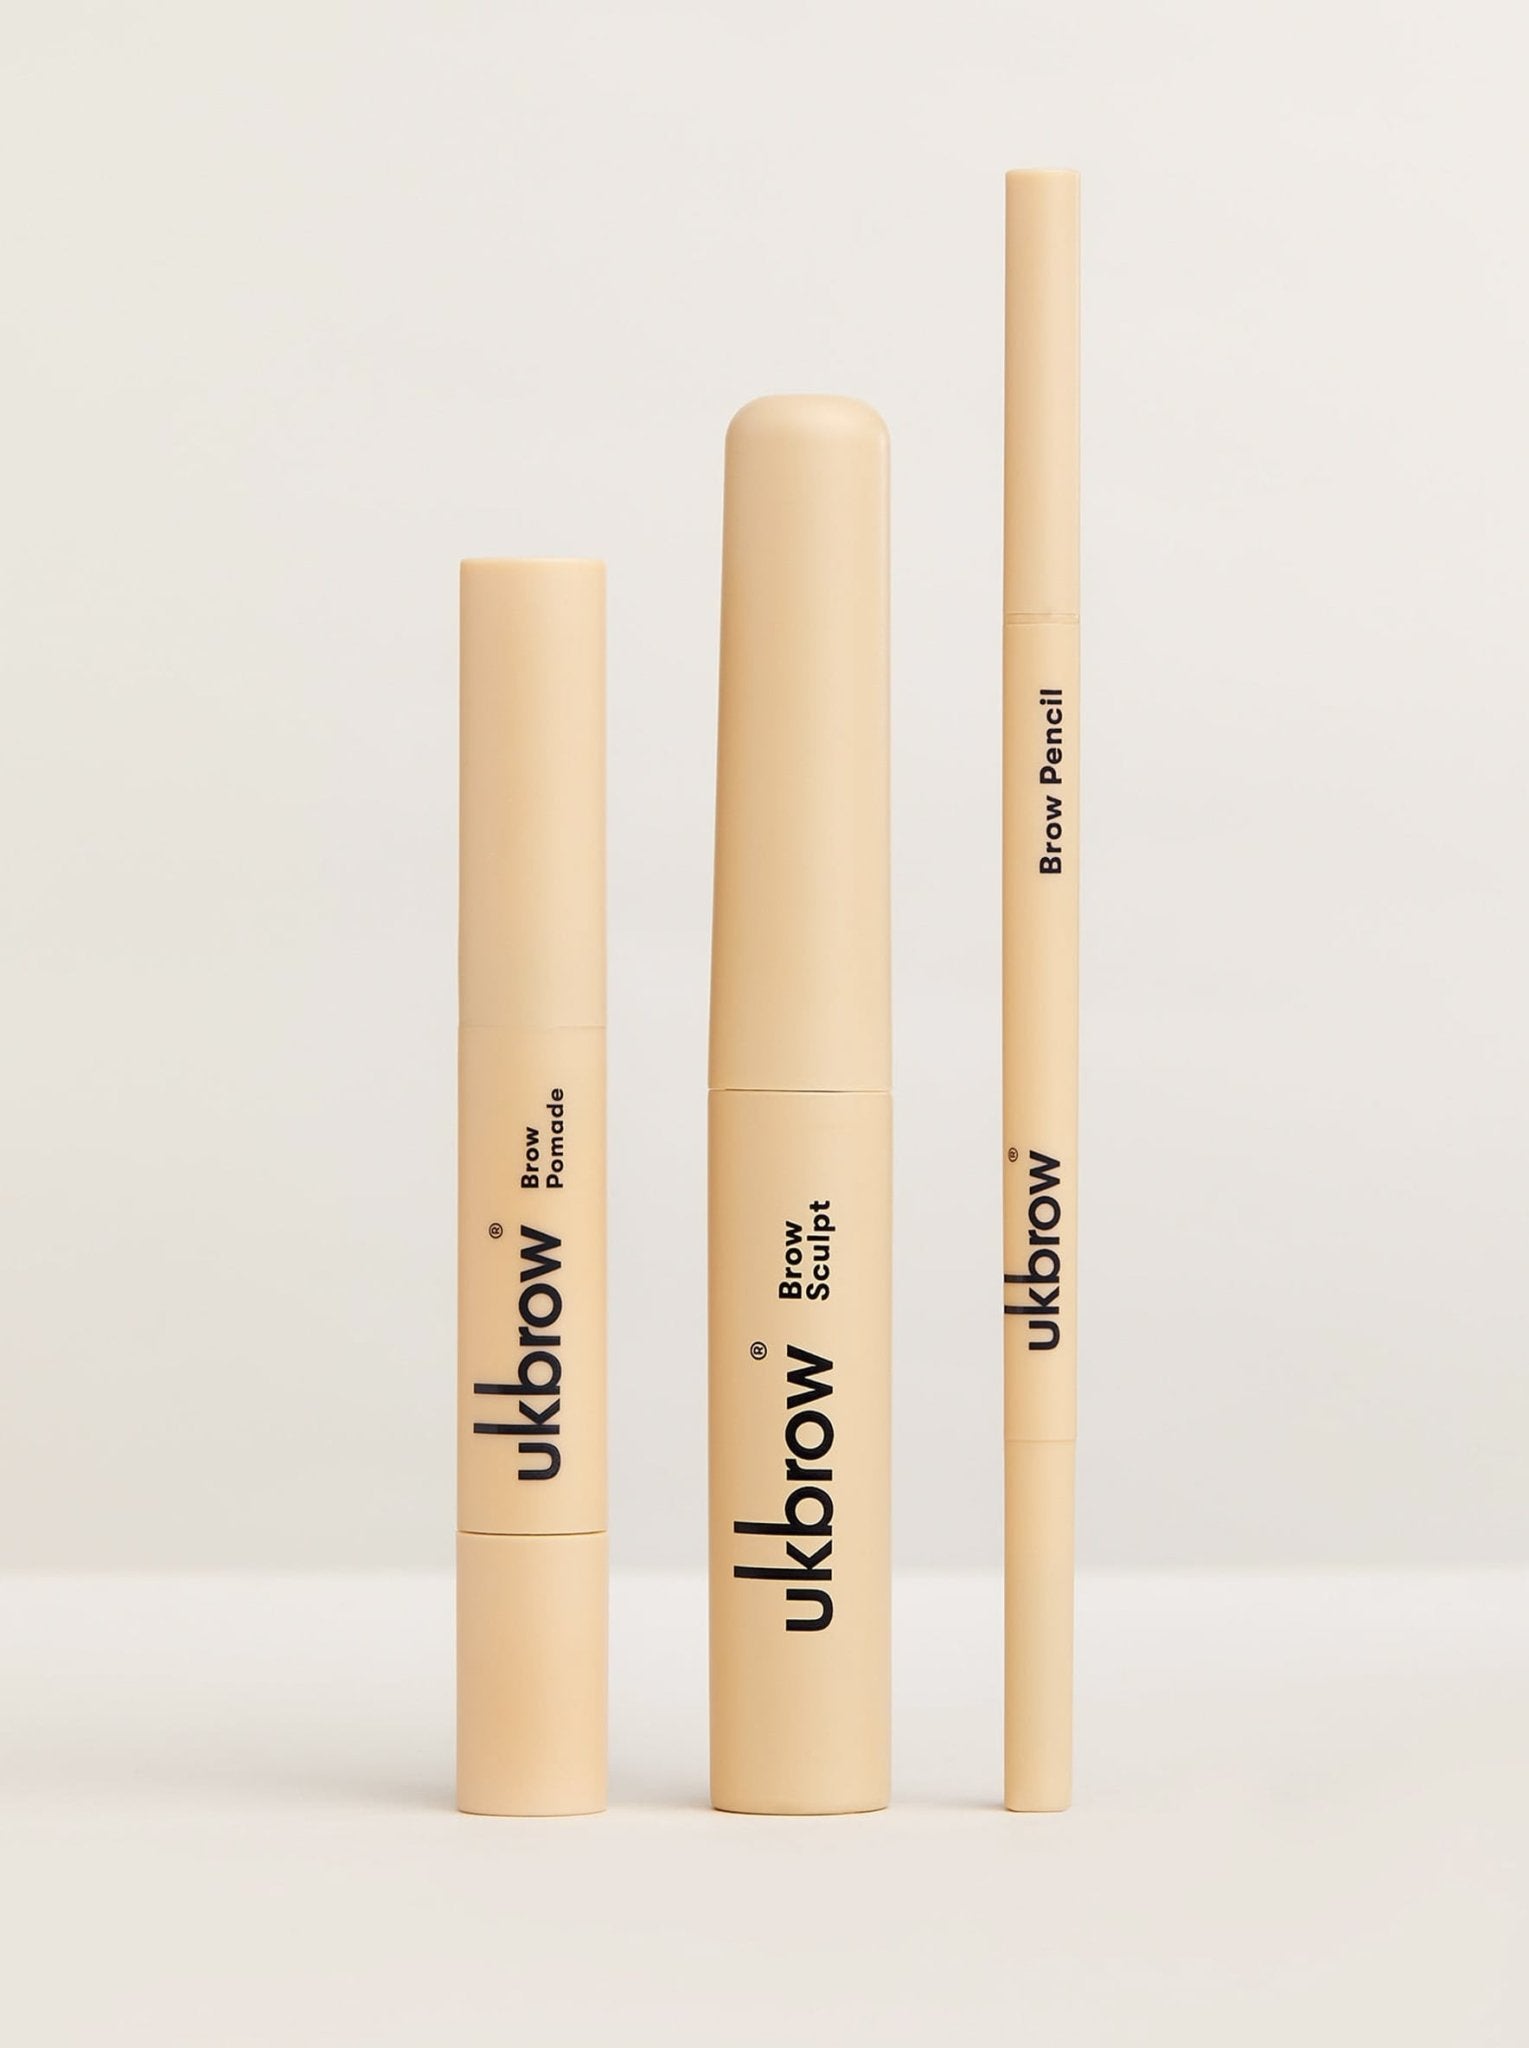
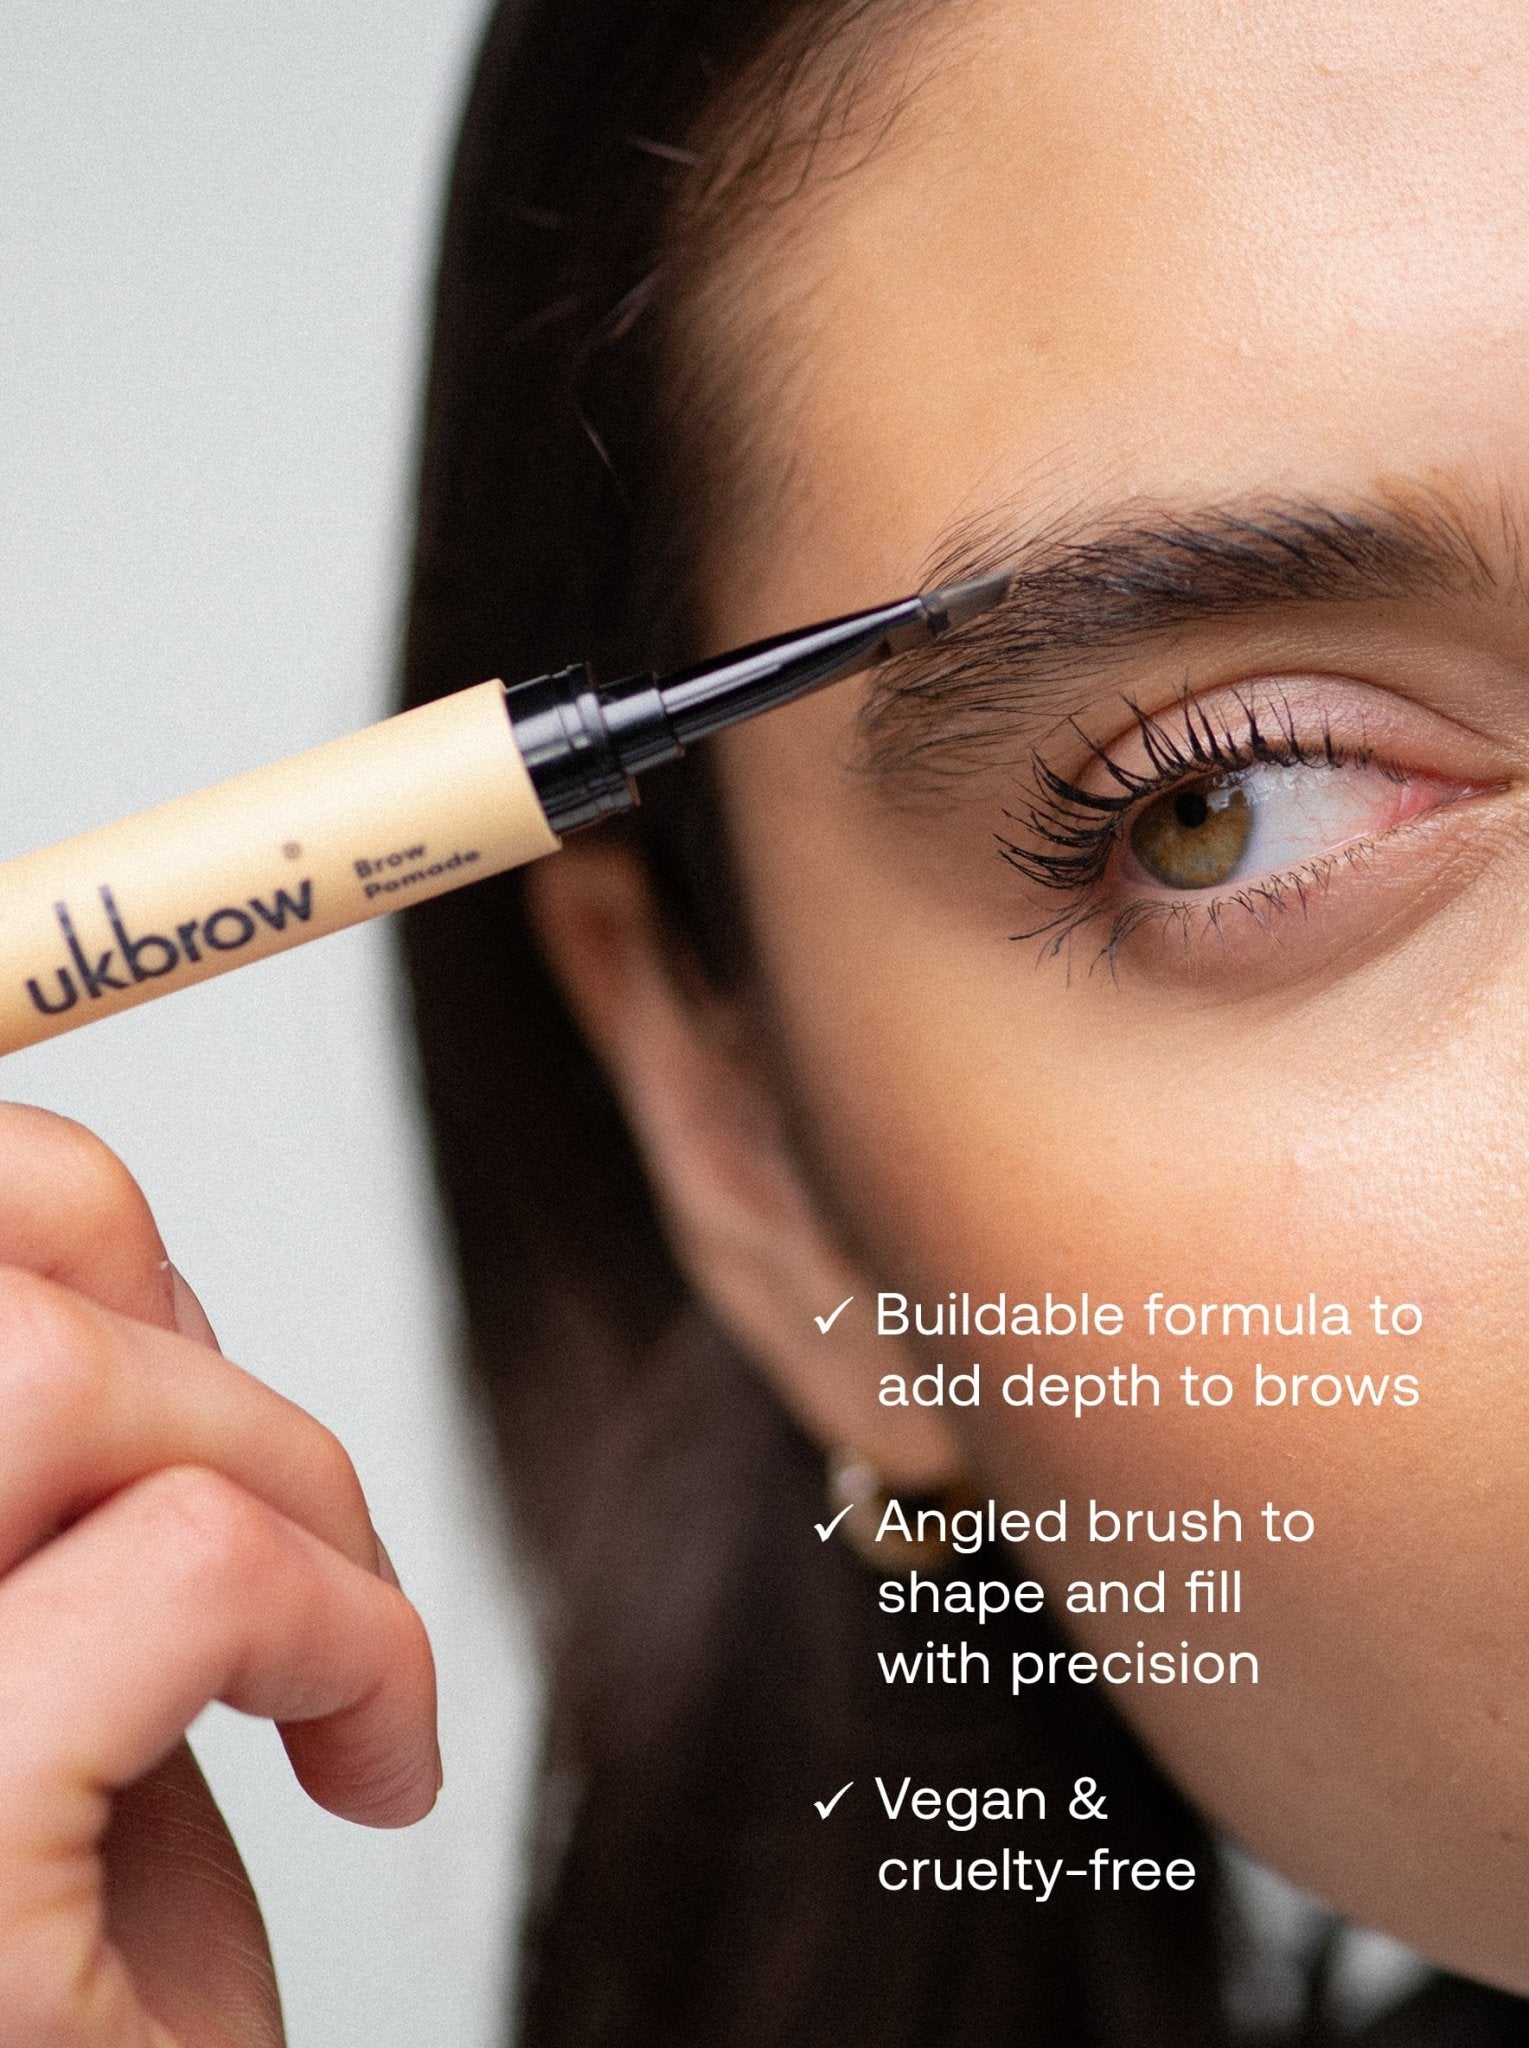
 6 Hacks For Our Brow TrioOur eyebrows make up a huge part of our everyday beauty routine, with a change in shape, fullness or colour having the power to redefine and frame our face. Our...
 How To Help Your Hair During MenopauseThroughout our lives, there are many transitional phases, with two of the most pivotal being puberty and menopause. The latter may be experienced as either perimenopause or menopause, depending on...